How to use BioWaveGo?
How does BioWave’s proprietary signal technology work to reduce pain?
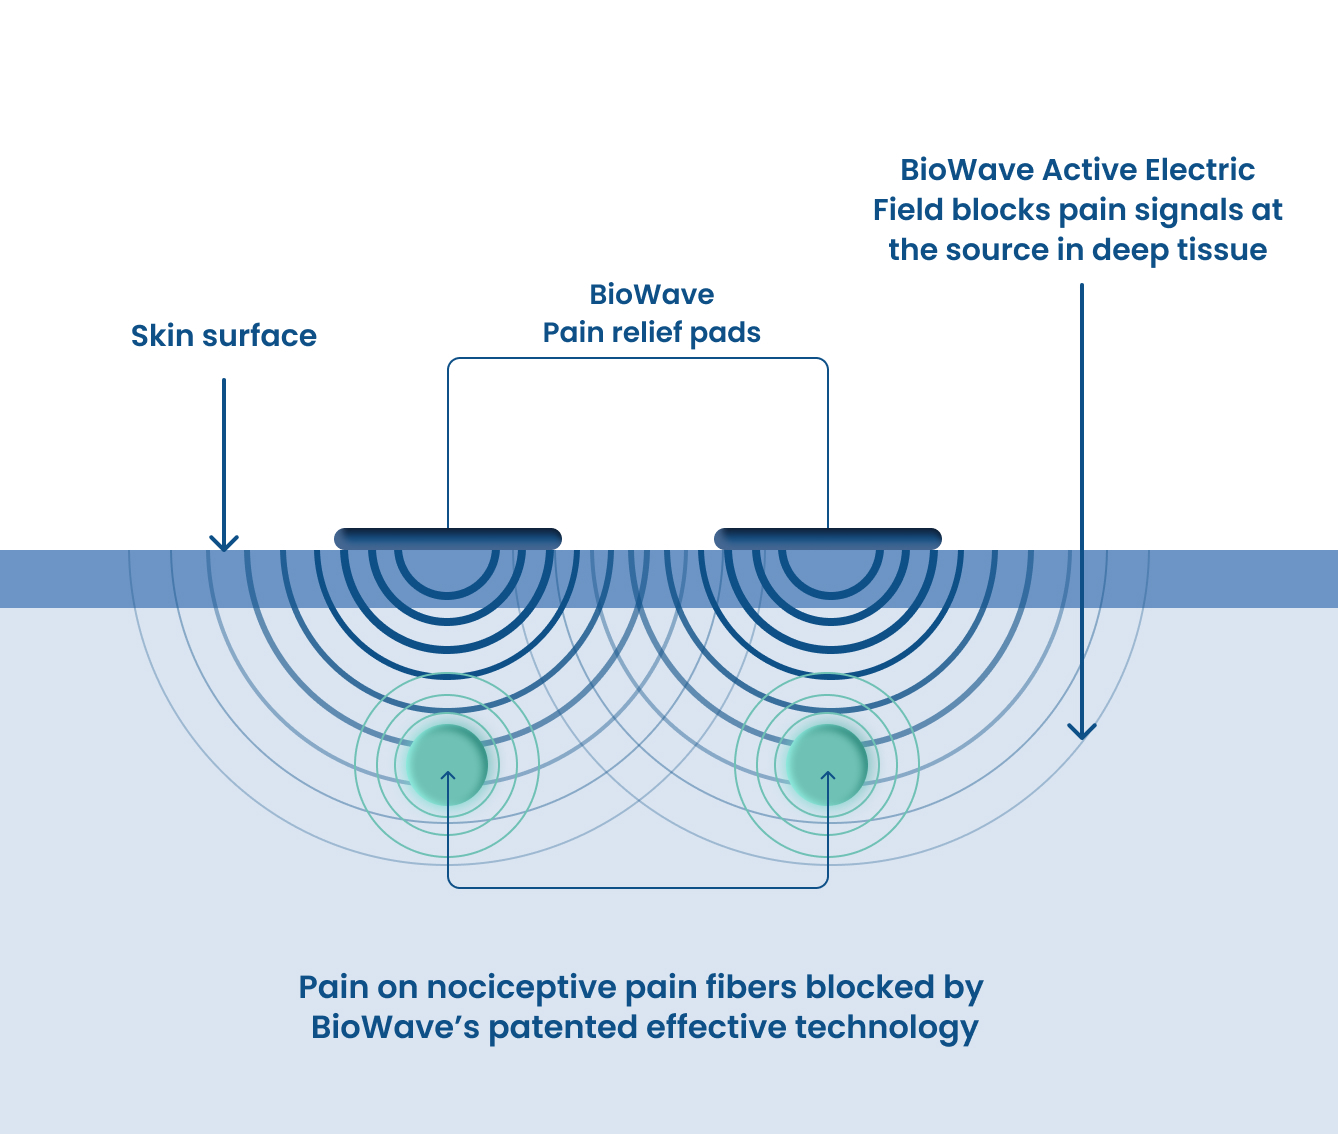
BioWave is able to target structures deeper in the body. It does this through a proprietary signal of electrical currents which have been deemed safe and effective in clinical trials.
There are 2 electrodes, each will be placed over the area of pain. Once the device is turned on, you turn up the delivery of this signal until you feel a strong sensation. This is comfortable and not painful. BioWave sends different frequencies out of each electrode, which is combined by the body creating a new spectrum of frequencies. This new electrical field inside the body surrounds the structures so they cannot send the message of pain to the brain. The result is you feel less pain!

Biowave can
Stop a nerve from sending a pain signal
Increase blood flow to the area
Promote the body’s own pain relievers such as endorphins, encephalins and dopamine
For a technical explanation of how BioWave works, read on…
A BioWave device alternates the delivery of two summed high frequency sinusoidal alternating current signals (4062 hz + 3940 hz), back and forth to two independent electrodes. The high frequency signals are able to bypass the impedance of skin and travel into deep tissue beneath and surrounding each electrode.(1)
As the high-frequency signals contact polarized structures inside the body, such as the plus charge sitting at the membrane of the C-fibre, A-delta fibre, or muscle tissue, the two high frequencies are multiplied together resulting in a new spectrum of frequencies that form an active electrical field in a 3.5-inch diameter hemisphere (think of half of a grapefruit) beneath each 2” diameter electrode sitting at the surface of the skin.
This active electrical field is comprised of 3 high-frequency components (8002 hz, 4062 Hz, 3940 Hz), one low-frequency component (122 hz), and harmonics on the low-frequency, which contribute to hyperpolarizing pain nerve fibres, preventing the sodium-potassium ion exchange across the membrane of C-fibres. Thus interrupting action potential propagation along pain nerves, and preventing the transmission of the pain signal to the brain. The active electrical field also induces hypoesthesia on A-delta fibres about 5 minutes into the treatment. The light numbness lasts typically for 30 minutes post-treatment in the regions beneath and surrounding each electrode.
Users receive immediate pain relief as they increase the intensity of the active electrical field as well as a long carry-over effect following the 30-minute treatment. Residual pain relief lasts post-treatment for 8 hours on average(3) and can last up to 72 hours depending on the type of BioWave® device and electrode used on the patient.(2,3). There is a cumulative effect whereby the pain reduction can last longer after each treatment.
(1) Rabbit Study, Frequency Spectrum Analysis, US Patent, FDA 510k Application
(2)Cornell Phase 3 BioWave vs TENS blinded randomized controlled crossover study on Chronic Low Back Pain.
(3) High Frequency Peripheral Nerve Stimulation Peer Reviewed Published Paper
Easy to use
Because the active electrical field forms in the hemisphere directly beneath and surrounding each electrode, electrode placement is intuitive. The electrodes must be placed directly over locations of pain or over the origin of pain and the most proximal location of pain relative to the origin.
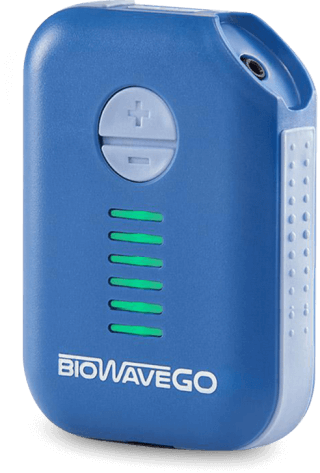
Additionally, our first dosage study at Weill Cornell Medical College determined that if the body could produce an electrical field that encompasses pain nerves at a specific low frequency, it caused the greatest reduction in VAS pain scores from before to after the treatment. This allowed us to design a very simple-to-use device – there’s no programming. The only control is the intensity and patients control their own comfort level by pressing a plus or minus button on the face of the device.
wearable
drug free
app controlled
evidence based

trusted by
